October 09 2009
Chilly Willy the “Pengo” Restoration – Part 3
Tagged Under : Arcade Games, Pengo, Projects, Restorations, Rotheblog, Sega
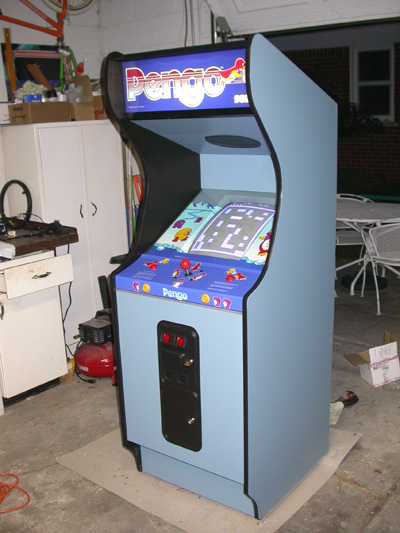
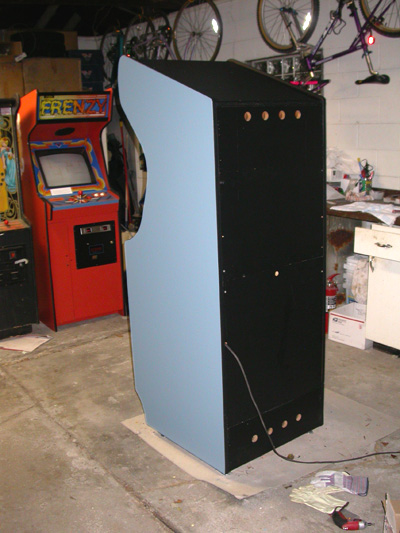
Since “Part 2″ I was able to finalize my Pengo restoration before winter arrived. In fact, the night I finally pushed forward to get done it was 54 degrees out and damp so no time like the present to finish the restoration up! As I found out a couple of nights before spray painting sometimes just can’t happen this time of year so I finished just in time!
First thing I did since part 2 was to carefully remove the “FrogTape” to see if it did as good as a job as the marketing material says it does. The verdict? It works!
From here I installed 3/4″ Black Leather Texture T-Molding which I purchased from ArcadeShop.com.
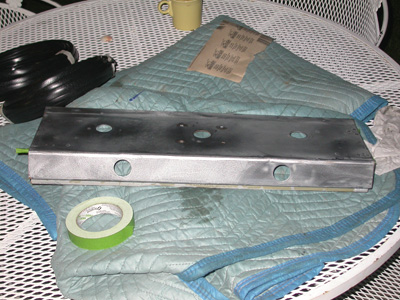
The aluminum trim that goes under the control panel was slightly bent and filthy. However, a good scrubbing and a good polishing with Autosol® Metal Polish it cleaned up real nice.
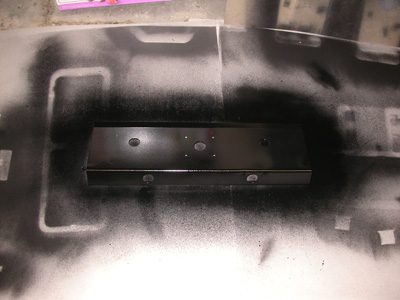
Gave the speaker grill, marquee bracket and carriage bolts with a quick coat of Krylon® satin black spray paint before I reattached.
Sandblasted the coin door and repainted it with Rustoleum® hammered finish “black” before reassembly. The results? I’m thinking this is one of my best looking coin doors yet!
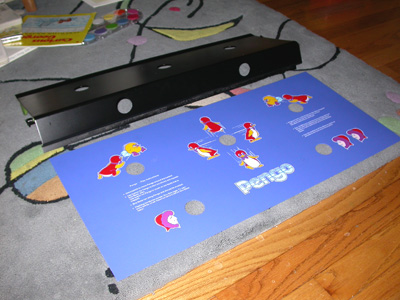
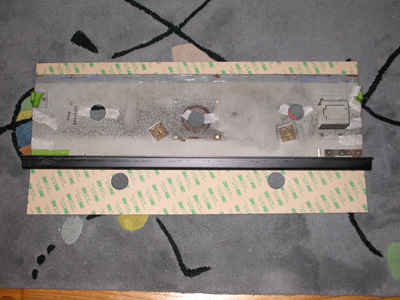
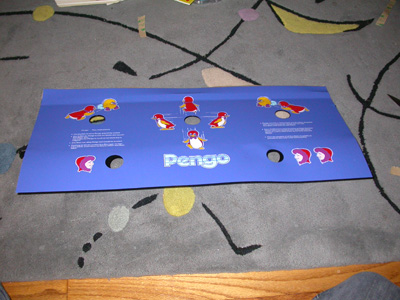
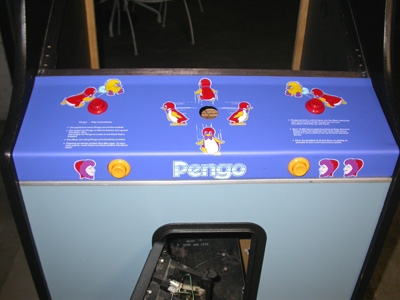
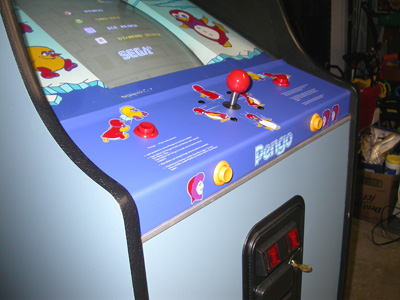
Before I could even think of applying my new control panel overlay I had to strip off the old control panel overlay (CPO) then gave it a good couple coats of satin black spray paint making sure to let the paint setup for at least 24 hours before applying the CPO. As far as properly installing a CPO all I can advise you to do is line it up, tape it down, take your time and you won’t be disappointed with the results.
The CPO was vectored by Jeff Rothe from rotheblog.com and was produced by Rich Lint from thisoldgame.com and as you can see the end product is first class. Kudos to both Jeff and Rich!
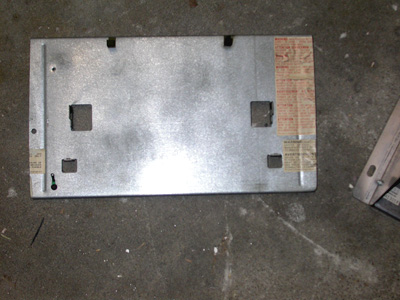
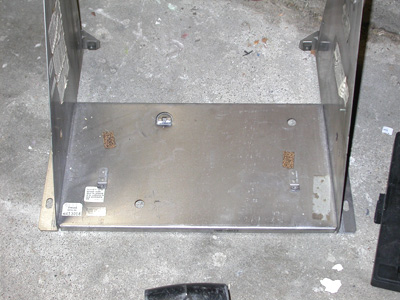
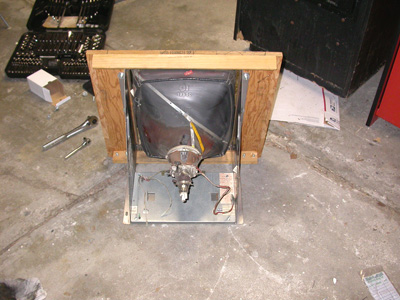
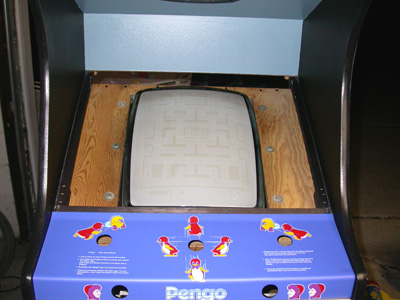
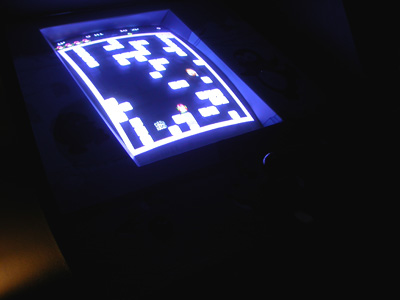
Unfortunately the Wells Gardner 4900 monitor was so horribly burned with Penogo game play I really couldn’t use it. So I ended up rebuilding a Wells Gardner G07 I had with new capacitors and a new Flyback Transformer. The only problem I ran into (or at least that I will discuss at this time) was that I didn’t have a vertical frame for the G07 and couldn’t seem to locate one. A big problem? Not really… Ended up trimming the base of the G07 horizontal frame and attaching the base to the vertical monitor frame frame from the 4900 with sheet metal screws. Worked great and not too much work.
The tube isn’t perfect but a great improvement.
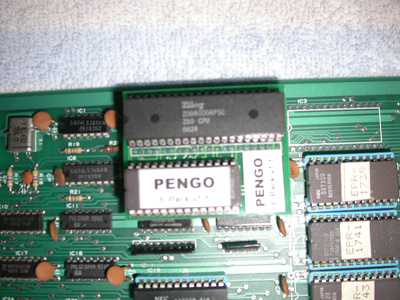
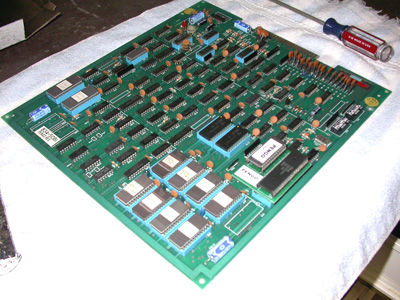
I installed a Pengo Enhancement Pack (E-Pack) created by JROK. The upgrade gives you High Score Save, the choice between “Popcorn Pengo” and “Alternate Pengo” and Free Play. Best of all, it’s only a $45 upgrade.
The original Wico joystick was rebuilt using a New Old Stock (NOS) grommet and a NOS red ball-top. Then picked up two new red leaf buttons and two new galaga gold leaf buttons from Bob Roberts.
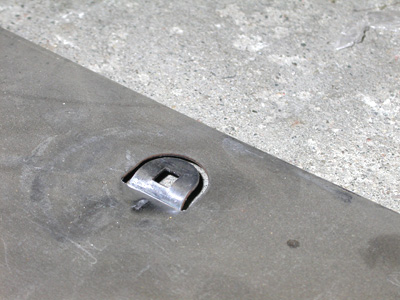
No restoration would be complete without new locks. So I installed a new 1-1/8″ lock on the back door and two 7/8″ Cam locks on the coin door door. The locks can be purchased at Bob Roberts as well as most hardware stores.
Well this concludes my Pengo restoration for now. Side art isn’t available at this time but seeing I never had side art it won’t be missed right now. Now to see if I can squeeze it into the game room!!!


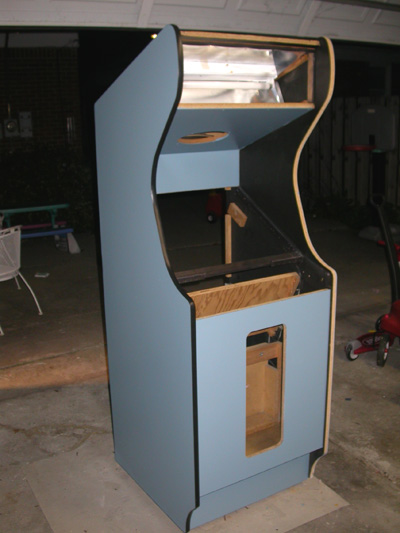


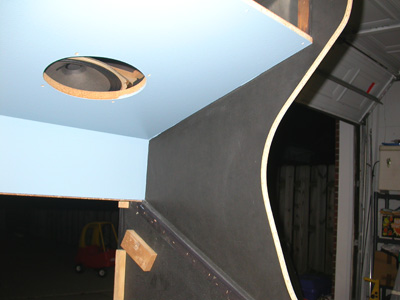


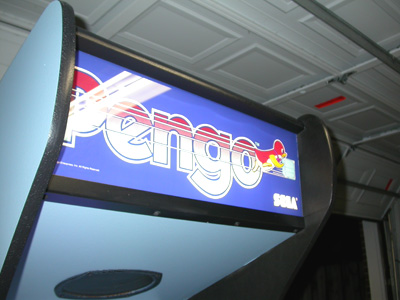










Beautiful restoration, the cabinet looks great!
Now that the cpo has been repro’d, do you know if anyone has plans to tackle the side art?
Jeff from http://www.rotheblog.com/ vectored the side art but as of right now I don’t believe there are plans to have it produced in the near future. Supply and Demand is fairly low from what I’ve heard.
Why did you opt to paint the control panel black…vs…I don’t know, any other color? It was the color you had on hand? Or is that just black primer?
Is photo #6 of applying the overlay after you’ve removed the backing…which is why it adheres to that slight 15 degree bend on the back part of the panel?
I have heard of people using those plastic clamps on the bends / radii, letting them set for days to make sure it’s held in place for awhile to fully adhere….have you ever had an overlay start to lift?
@Jeff… I just used satin black Krylon because that’s what I had on hand. I always use satin or semi gloss paint “before” I apply an overlay to make sure it has something to stick to. What I find interesting is that I’m not sure the factory does the same. However they must use something because they usually don’t rust unless the surface gets scratched.
Photo #6 is “after” the backing has been removed. I must say I’ve never used plastic clamps but I know of several people who have. I just used a soft rag / towel and just rubbed the bend until it heated up a little bit and “forced” it to make the bend. Then used some masking tape to hold it in place.
Unfortunately it’s 40 degrees in MI so I’m very curious how the CPO is doing while it sets. I’ll be bringing it in to the game room this weekend so I’ll just leave the tape on just a little longer.
It just takes some time for the CPO to “relax”.
[…] new overlays, and the one Bill got was screaming for Bill’s quality of detail restoration. Read at Chompingquarters about a restored Pengo from ground 0, cab painted, coin door sand blasted, new power supply installed etc. […]
You don’t happen to have the paint codes do you? I’m repairing the front of mine. Everything else is good enough but the front needs help with the lock bar holes etc… I just don’t want to carry that heavy son of a gun to the paint store.
I do believe I do but I will check. I’m pretty sure I just found very close match and had the paint store mix it for me. It was very close to the original color.