November 21 2011
“Drivers Start Your Engines!!!”
Tagged Under : Bally Midway, Demo Derby, Demolition Derby
Back in July, I had the opportunity to purchase a Bally/Midway Demolition Derby project from Chris Rhoades (Chris25810). Chris had a new CNC cabinet cut locally, he slowly removed the original artwork in order to reproduce new artwork, powder coated brackets, control panels and coin doors but unfortunately he lost interest in this project (one of many) and had no desire to complete it. So, instead of him selling off all the parts and trashing the cabinet I was offered the project first because Chris knew I was one of the few collectors that would be able to complete what he had started in OCD fashion.
Before committing to the purchase I had to get past my largest obstacle (besides getting the wife’s blessing and getting it through the doorway) “logistics”. I mean, Chris is located in Minnesota and I’m located in Michigan. I “technically” could’ve contacted a freight company but the expense of shipping a project game just doesn’t make sense. But luckily for me, Chris’s friend Allen (alejandromad) was heading towards Michigan and we were able to work the logistics out at a minimal expense.
Pile-O-Derby back in Minnesota
Dropoff Location – Battle Creek, Michigan
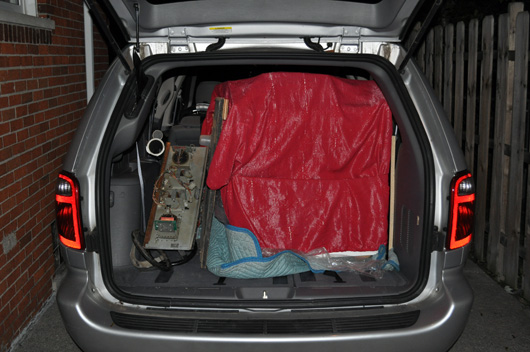
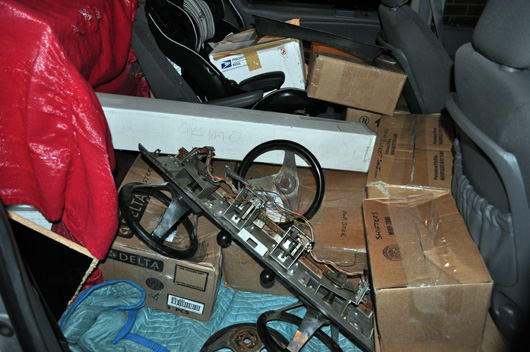
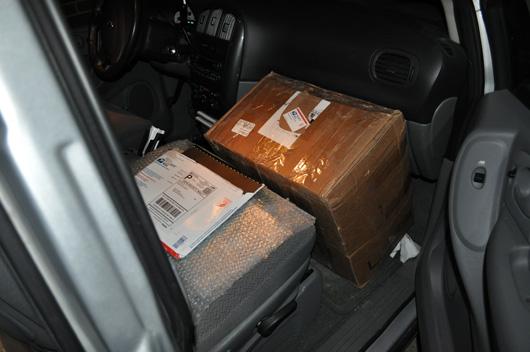
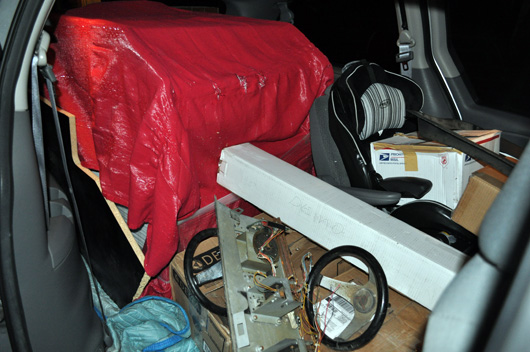
Demo Derby Cabinet and Parts Loaded in Van
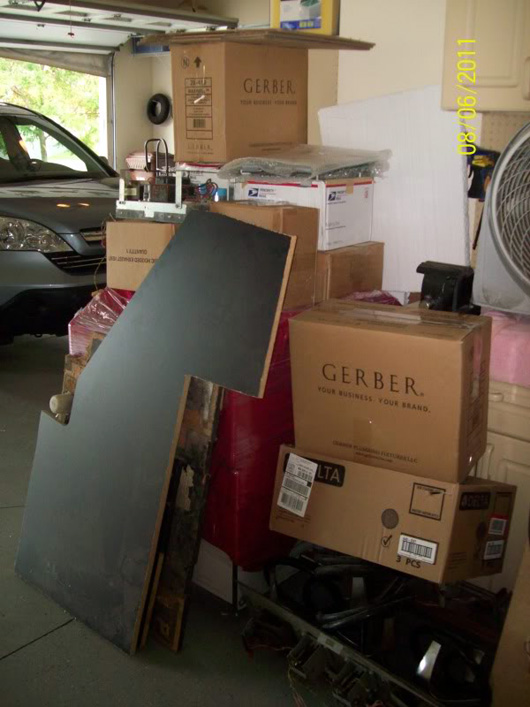
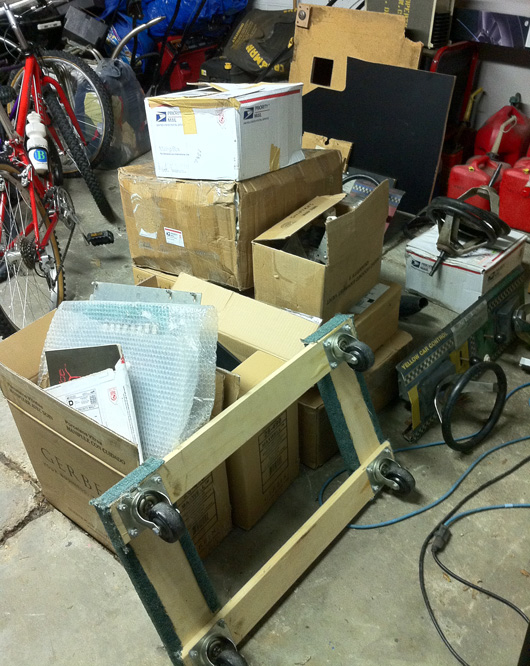
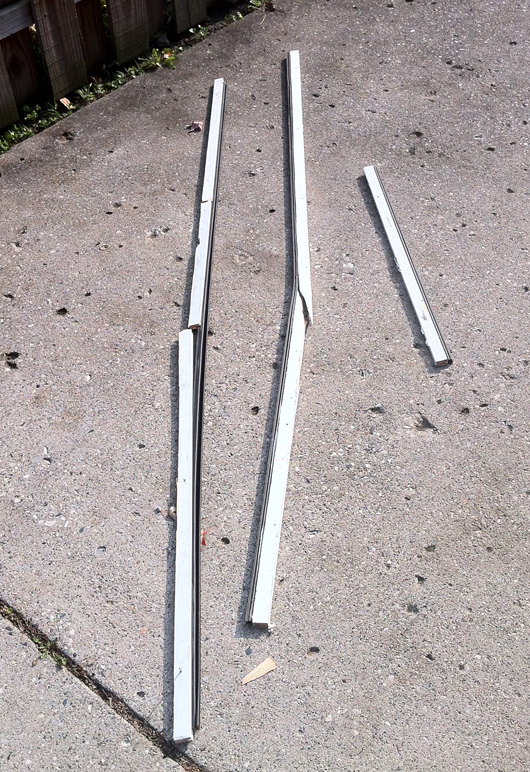
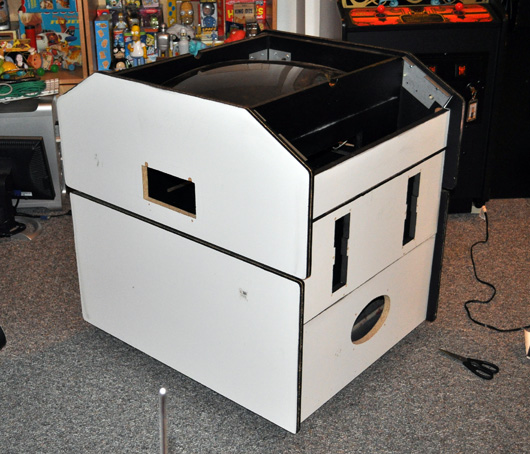
When I arrived home it was time to empty out the van. I stacked multiple boxes and parts in the garage and immediately hauled the cabinet into the basement. Unfortunately, the cabinet was a much tighter fit than I had originally thought so I had to remove the door and remove the weather stripping (and a little elbow grease) but we got it safely down there. I believe this may’ve been the first time I’ve ever been told by the wife that I was “Seriously Messed in the Head and that I needed serious help” and I almost think she might be right!!! 🙂
Demo Derby Parts Safely In Garage
Exterior Door Weather Stripping Removed
Demo Derby Cabinet Officially in its New Home
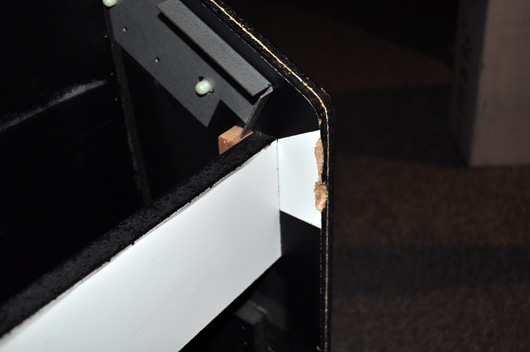
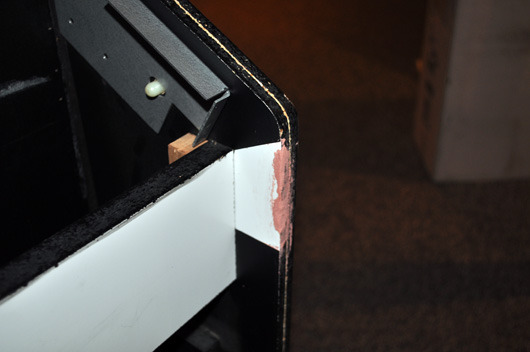
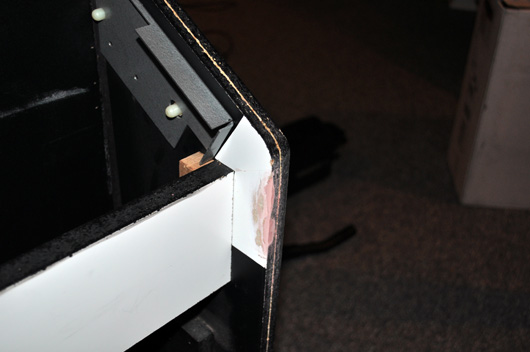
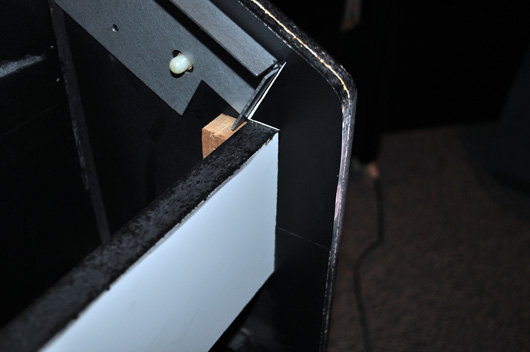
After the cabinet was hauled to the basement I discovered a small battle wound which happened somewhere between Minnesota and Michigan. Just a little bit of filler and a small piece of “pica vinyl” and it looks good as new.
Demo Derby Cabinet Repair
Before I discuss the artwork installation I wanted to discuss how this artwork package became a reality (Readers Digest Version). Back about three years ago when Chris purchased this project he painstakingly removed the original artwork. From there, he had it scanned and turned over the scans to his sister-in-law to vectorize. Then eventually he turned the files over to Rich Lint at This Old Game which he color matched, solvent ink jetted and applied screen printed clear coat to the artwork. The end results are top notch and best of all, Rich and Chris printed enough to go around!!!
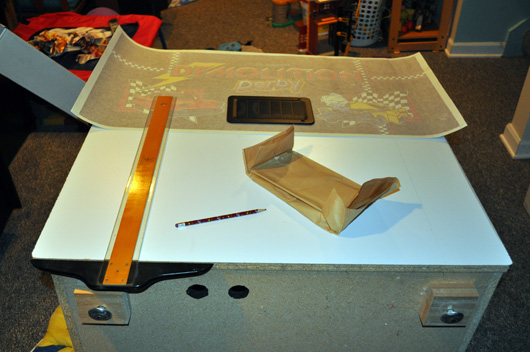
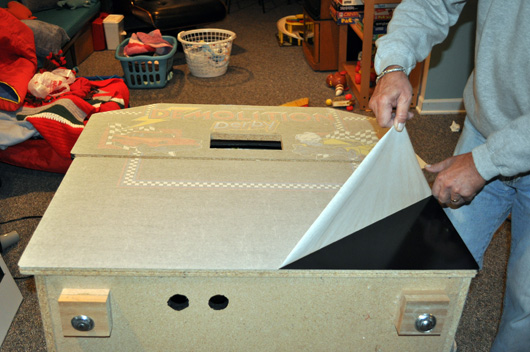
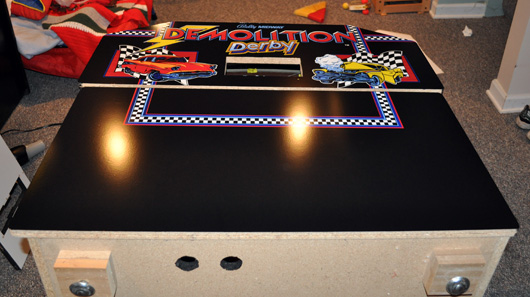
As far as installing the art. Well, it’s pretty much the same as any other installation. You just need to measure, measure again, tape it to be sure it doesn’t move and apply the artwork. The biggest difference with this restoration (more like an official Chris Rhoades snap together Demolition Derby restoration kit) versus other restorations is that there are 10 pieces of artwork / vinyl that needs installing (actually 12 if you count the Control Panel Overlays). So, this time I decided to start out with the sides then I will come back again in a couple of nights to do the rest. This will force me to “take my time” and avoid any accidental goof ups.
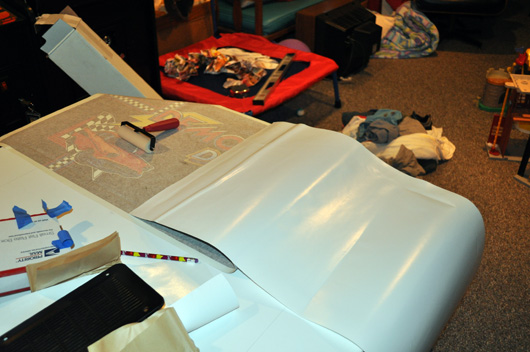
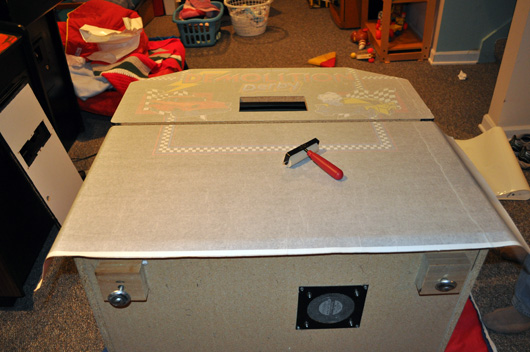
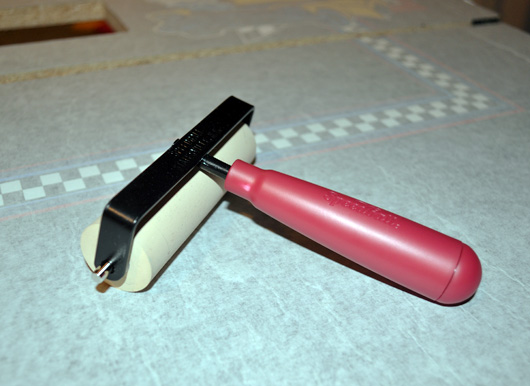
What did I do different this time? Instead of doing the typical “wet method” when applying art I decided to use a 4″ Soft Rubber Roller by Speedball. Rich and Chris have sworn by this method for some time now and decided this would be the perfect project to try it on. So far I really love the results!!!
That’s all I have for now. Check back in a few days when I finish installing the artwork and start assembling the cabinet!!! I really look forward to smashing some cars with my kids!!!
Side Art Installation
Rubber Roller Makes Vinyl Installation Much Easier




So you likey new roller?
proably need to read more but why does a new freshly built cab need bondo-LOL
@Rich… New cabinet needed bondo most likely due to driving through Detroit and going from 70 MPH to a stop in a matter of a few seconds to avoid wrecking the van. Gotta love it.