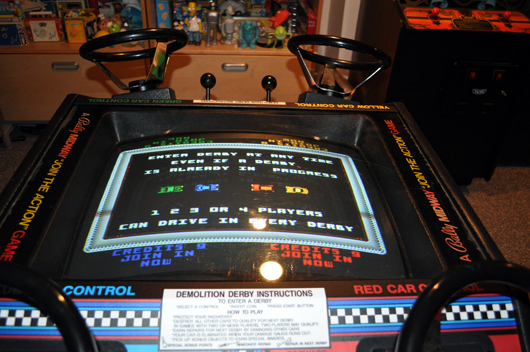
After about 5 months from start to finish (including logistics) the 4 Player Demolition Derby restoration is finally complete!!!
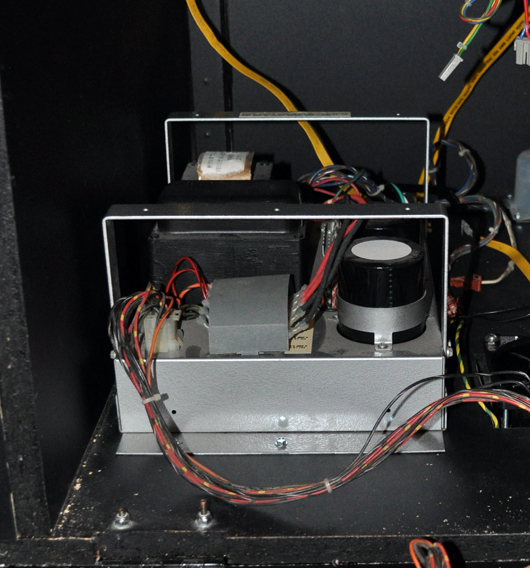
Since the last post I was able to get the power brick mounted, monitor chassis installed, wiring (more like spaghetti) untangled and secured into the game and all the PCB’s safely mounted in the cabinet. I won’t bore you with each and every detail (because there is a lot of details) so if there is something you would like to see or know more details about, just ask.
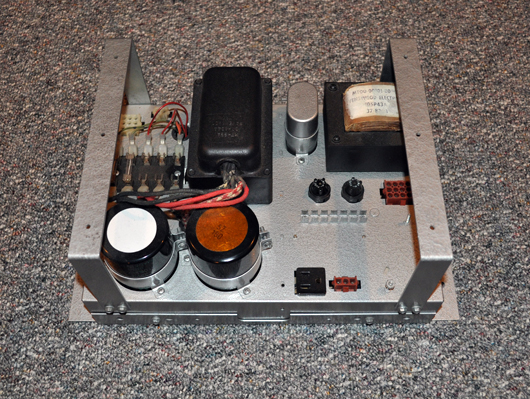
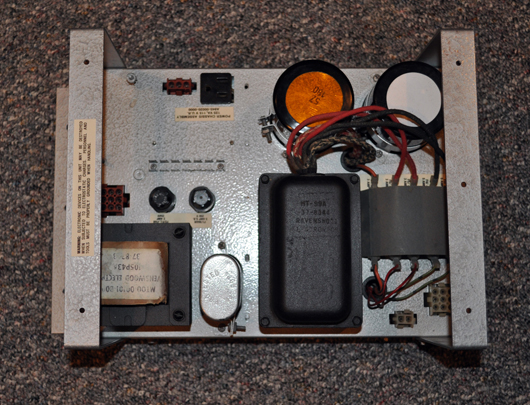
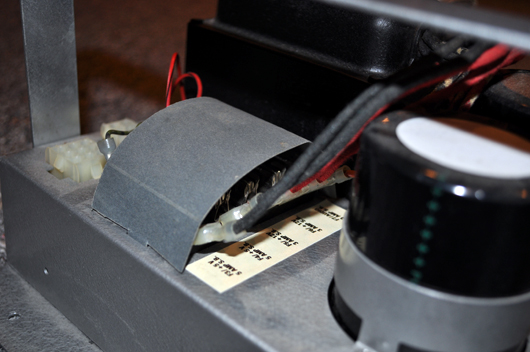
Midway Power Brick
When I purchased the project from Chris Rhoades (Chris25810) the power supply had already been fully restored. In typical Chris fashion, the power brick was fully stripped, cleaned, painted and reassembled. I mean, WOW… I can’t say I’ve ever seen a power brick “in person” that looked this nice.
In order to keep the restoration fully “OCD” I wanted to add decals back onto the power brick. Lucky for me, Scott Zeiser (scottz29) supplied me the file he created when he restored his “Satan’s Hollow” power brick. This saved me a great deal of time creating these from scratch. Thanks again Scott!!!
From here the only thing I needed to do is secure the power brick to the bottom of the cabinet!!!
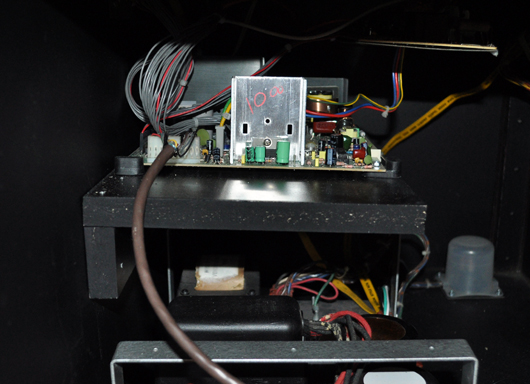
Monitor Chassis
This project came with a newer burn free 25″ Wells Gardner monitor with a label on the chassis that says “TESTER”. Chris discovered that this was this was a early prototype of the Wells Gardner 7400. All I know is that this 25″ monitor has a beautiful picture!!!
The hardest part about installing and hooking up the Monitor and Chassis was figuring out how to mount the Chassis to the shelf seeing this was not the monitor that shipped with this game. Lucky for me, it only took two tries!!!
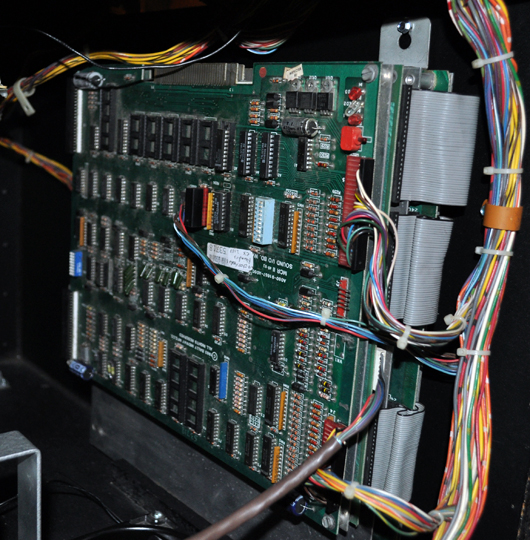
PCB’s and Wiring Installation
Pretty much like everything else with this project, installing the PCB’s and the wiring harness was just another time consuming piece to the puzzle. But lots of patience (which according to my wife, I have very little of) paid off and everything went together fairly smoothly.
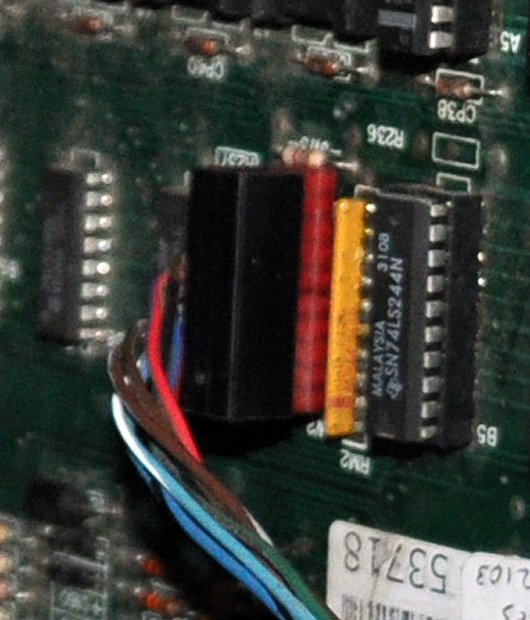
The SSIO plug on the PCB (Which controls the Yellow and Green cars) was missing a pin when I purchased the game. Even though the fix worked perfectly fine I preferred to correct the damaged header pin. Alan Radue from Tranquility Base Arcade was more than willing to help tackle this time consuming task. Thanks again Alan!!!
SSIO Plug Before
SSIO Plug After
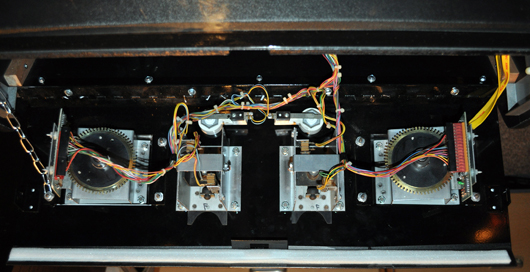
Control Panel Wiring
“It’s Alive!!!”
I was having some issues with two of the opto boards (steering not responsive) so replacing the 74LS273‘s and the OPB822S‘s resolved the problem. (Thank you to Scott Zeiser for helping me out with the use of his desoldering station.)
But after a few months of lot of time and hard work my Demolition Derby is alive.
This project turned was much more time consuming than I had ever predicted. If I had known how time consuming this project would have been I probably would have had second thoughts taking it on. However, I’m very happy that I could help preserve another piece of Arcade history!
A great big thank you goes out to Chris Rhoades, Rich Lint from This Old Game, Allen Wood (alejandromad) for logistics, Mark Little (Tec9) and my local Friend Tim G. for reference photos, Mike (Riptor) from Twisty Wrist Arcade, Alan Radue from Tranquility Base Arcade, Scott Zeiser (scottz29) and anyone else who I may of missed!!!












Absolutely beautiful. I love this game!!
Just need to find one in this kind of shape… 😉
Great job Bill!
Absolutely beautiful….brings tears to my eyes
Awesome restore of a really cool game!